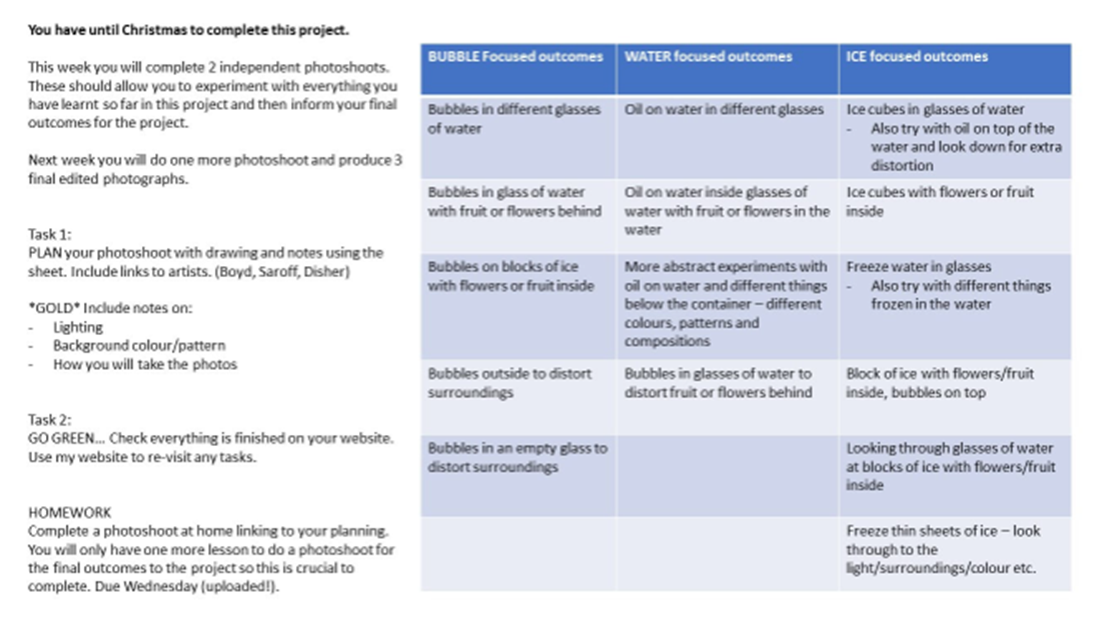
Photoshoot of ice... Research Bruce Boyd... Edit and upload.
|
|
All work from here needs to go on your Distortion page.
Your photoshoot needs to go below the work you did on Bruce Boyd in lockdown. If you haven't done it yet, please upload it into a gallery then complete the research before doing any editing. See the blue box.
Last time I checked, the following students need to do the research: jack, libby, chelsey (improve), emily, tiffany (improve), ben, harry, sophie, ryan, lauren Parnell (improve), lauren, freya, amy, leah walker (improve), pavan, jess west (improve), max

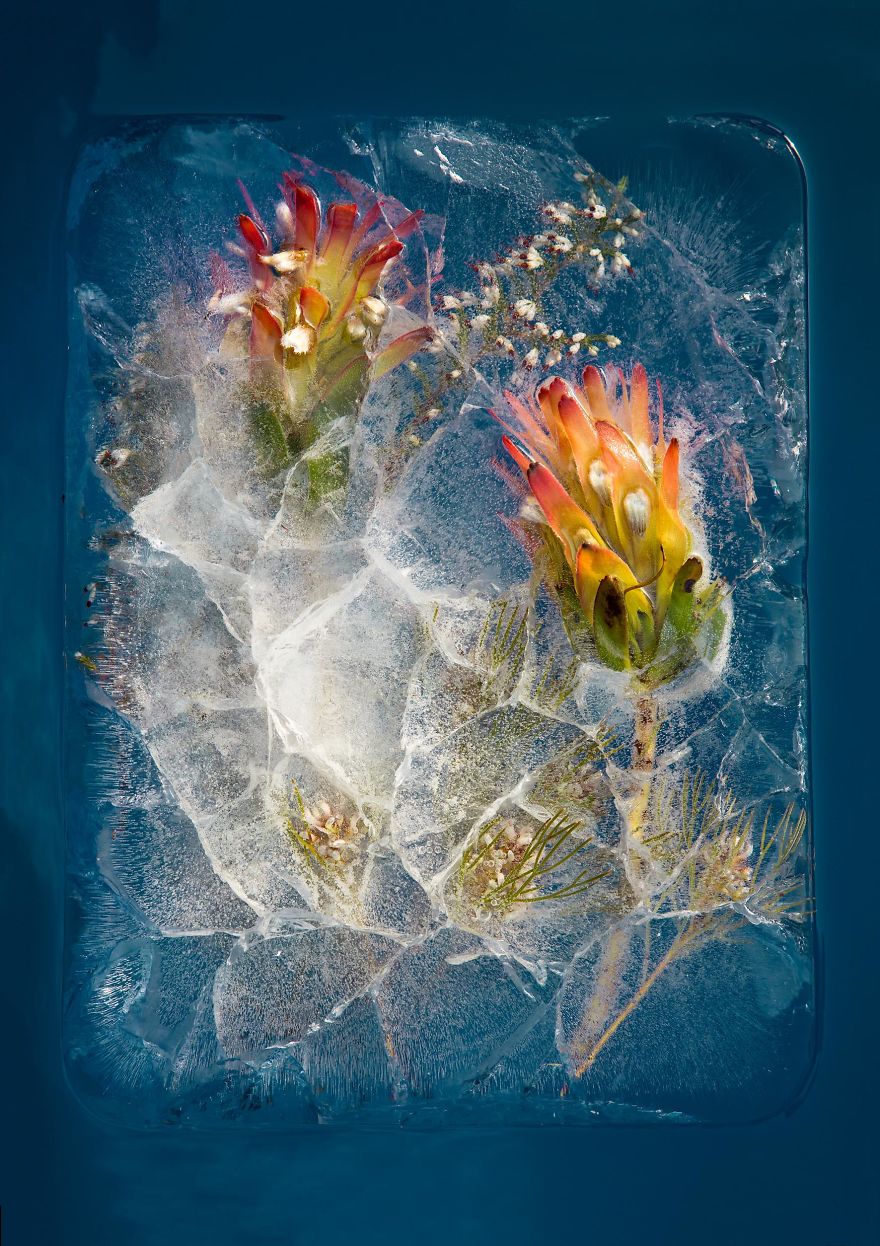
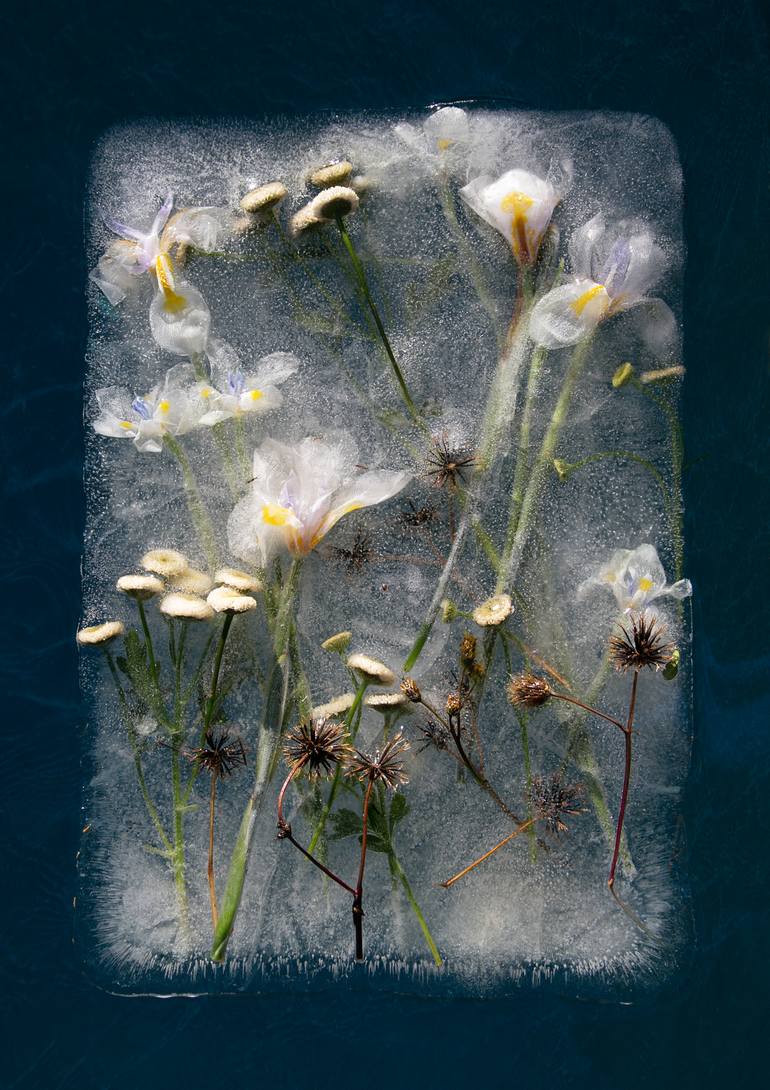
Watch this video to hear the artist talk about his work and how he creates it.
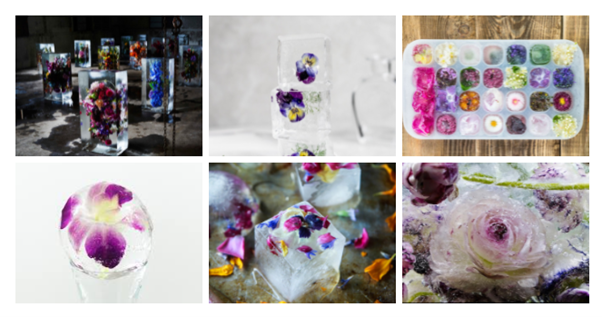
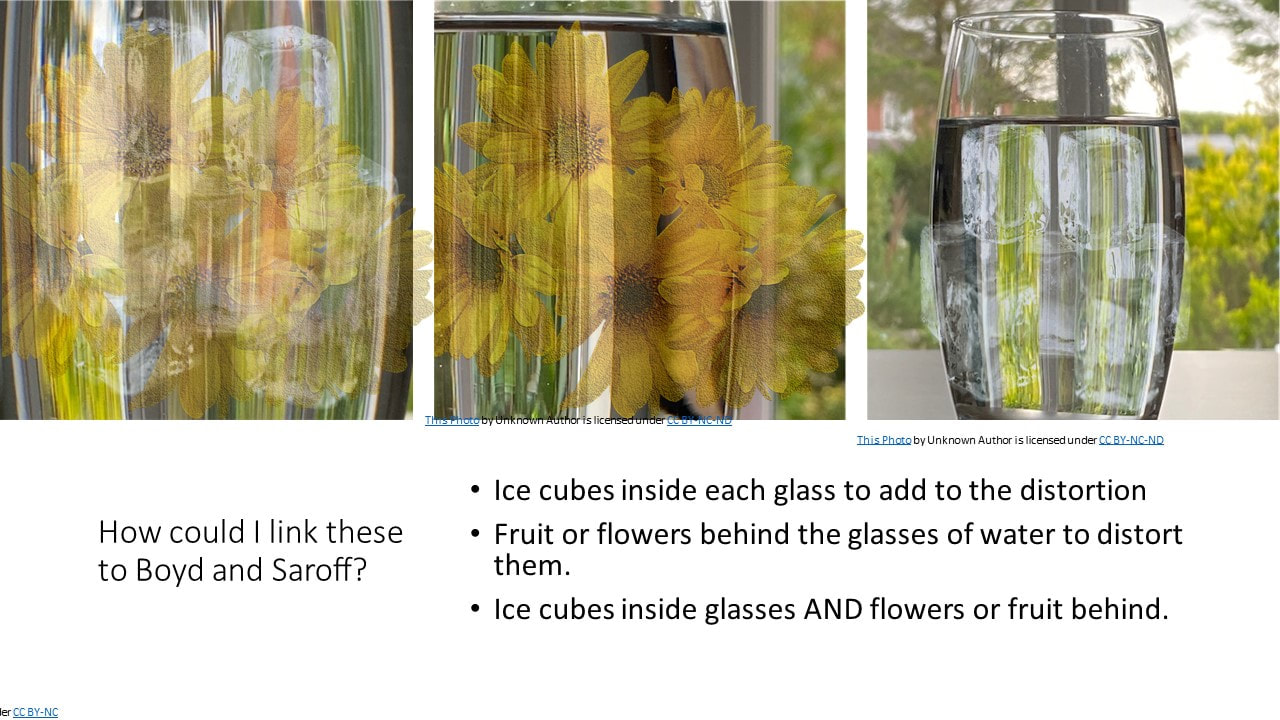
Create new ice blocks with flowers. Be creative and think about the presentation.

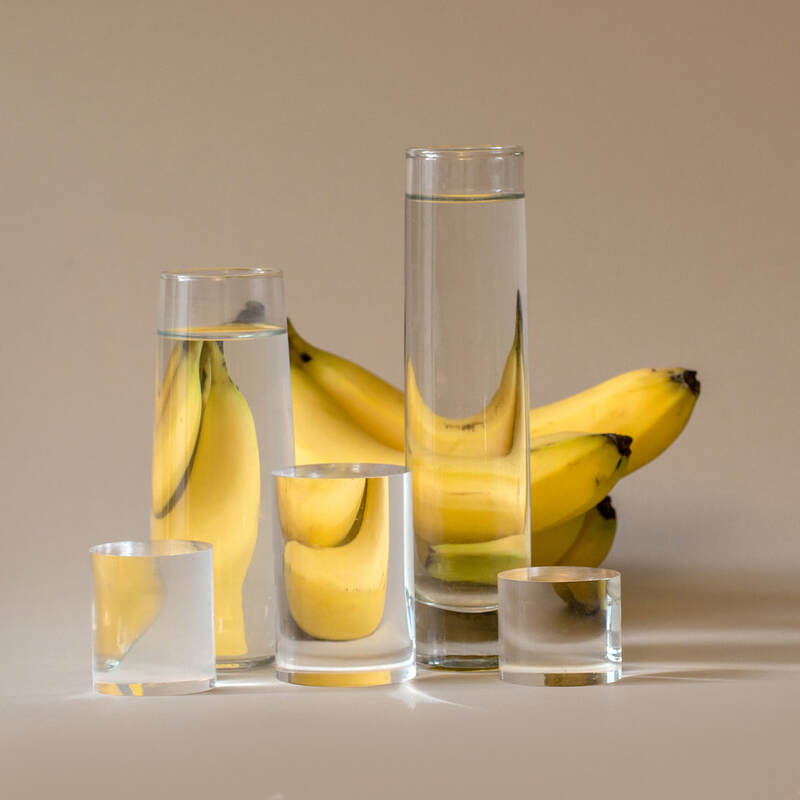
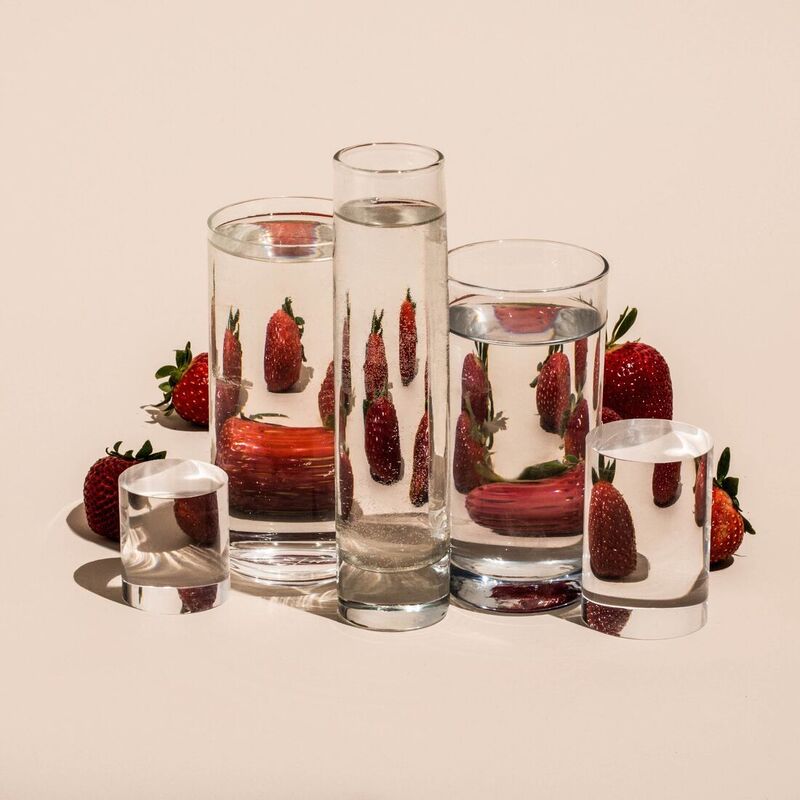
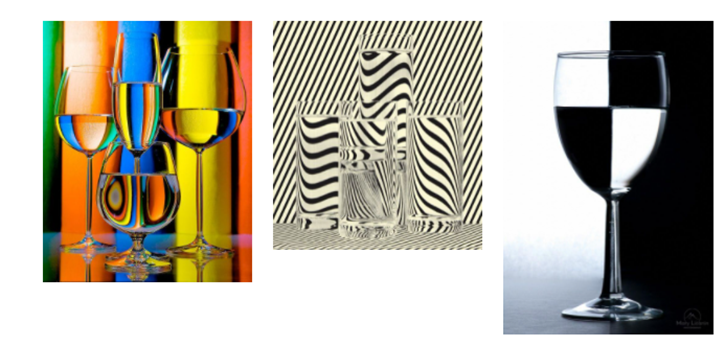
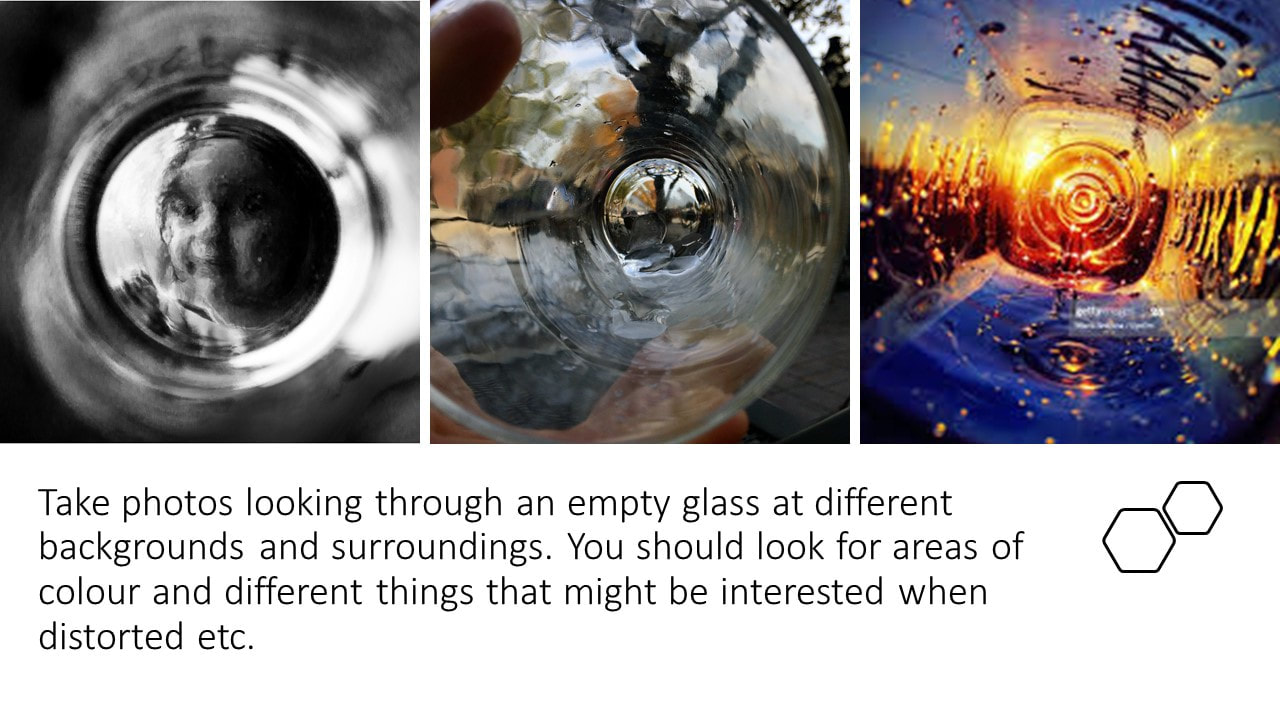
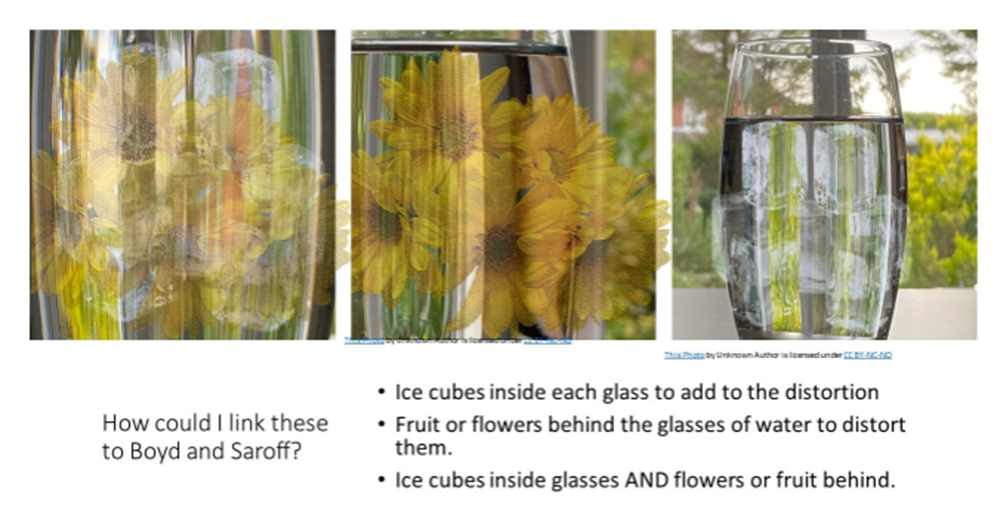
Photograph distorted food through glasses of water... research Suzanne Saroff... Edit and upload.
|
|


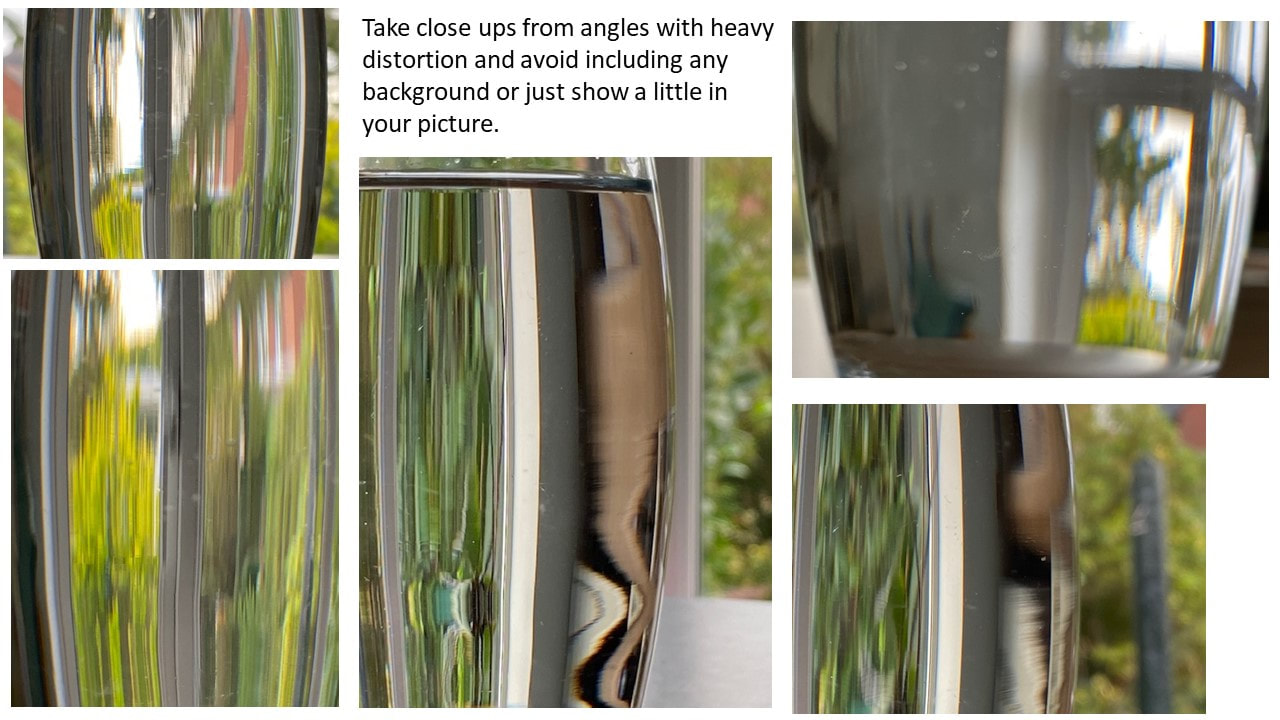

what is refraction in photography?
Refraction photography refers to photos that capture a refraction effect, where light is bent in glass, water, or some other surface to make a subject appear very large, very small, or otherwise distorted. Refraction photos can be creative, mind-bending, and just all-around cool.
|
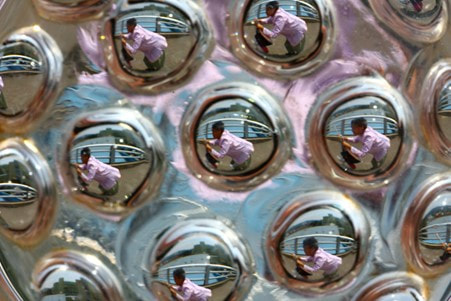
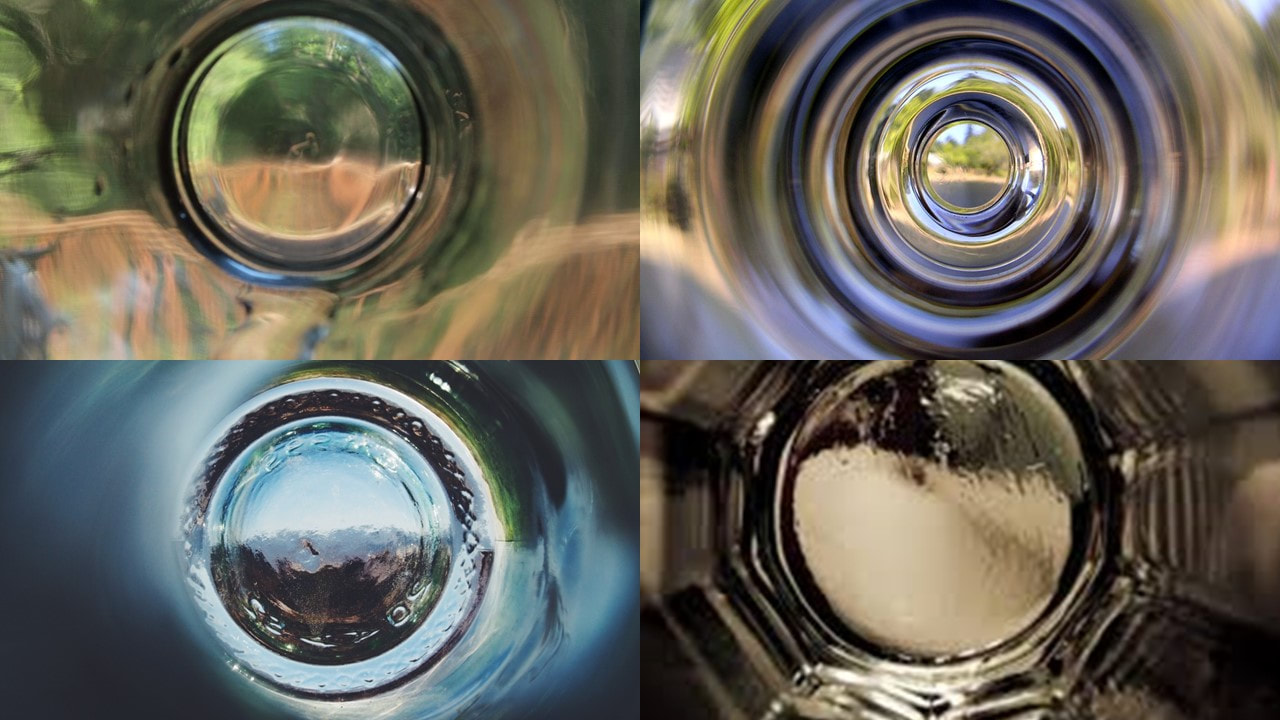
This photo was taken through the bottom of a drinking glass. The bubbles at the bottom refracted the light.
|
|
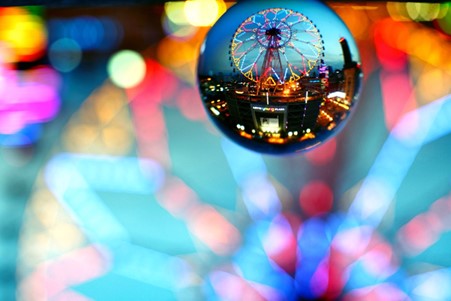
The Ferris wheel is refracted inside this glass ball, and the bokeh shapes complement the scene well. I’ve flipped the image upside down, too!
|
|
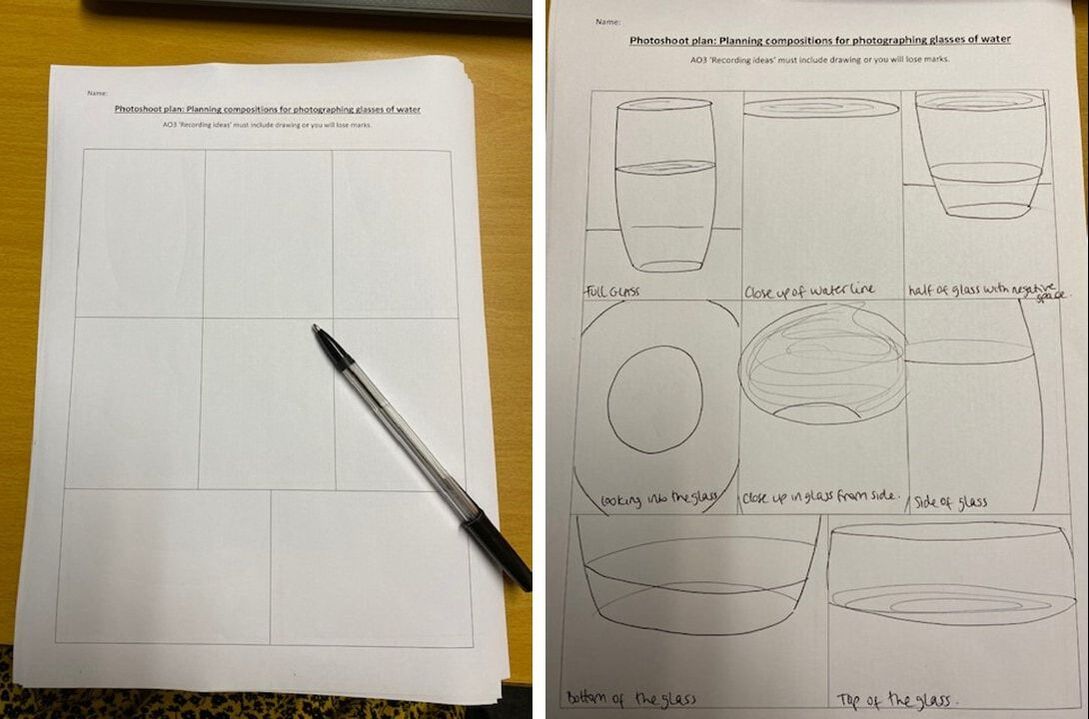
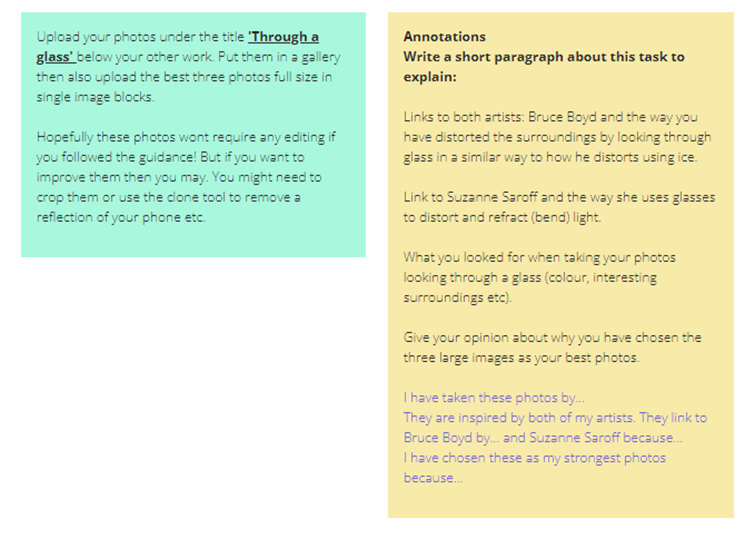
1. Create a planning page with images to inspire your own photoshoot next lesson. Include notes about each image to explain how it has been created. What is being refracted?
2. Print pages of colour/pattern to use in your photoshoot. Send files to the MFD Tech printer and change the settings if you want them in colour.
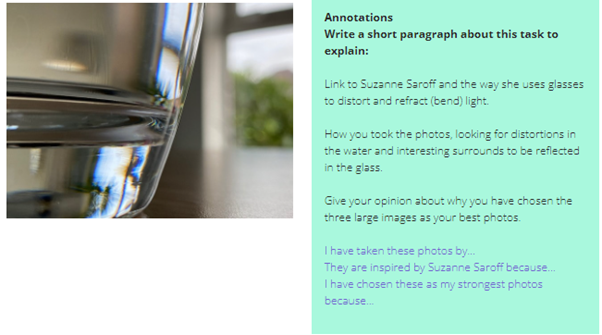
*After doing this photoshoot we will re-visit Suzanne Saroff!*


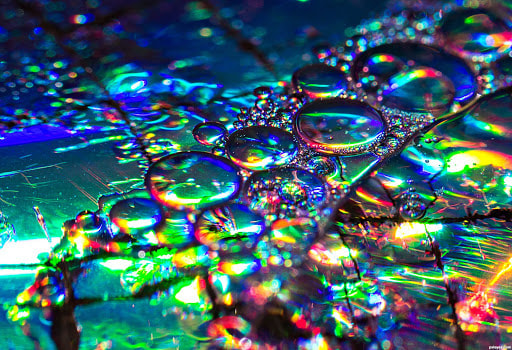
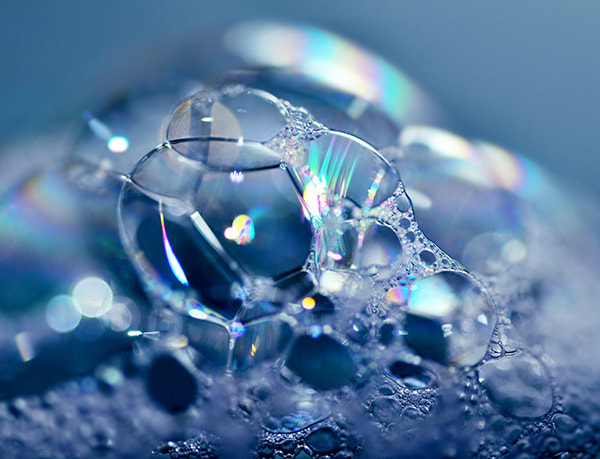
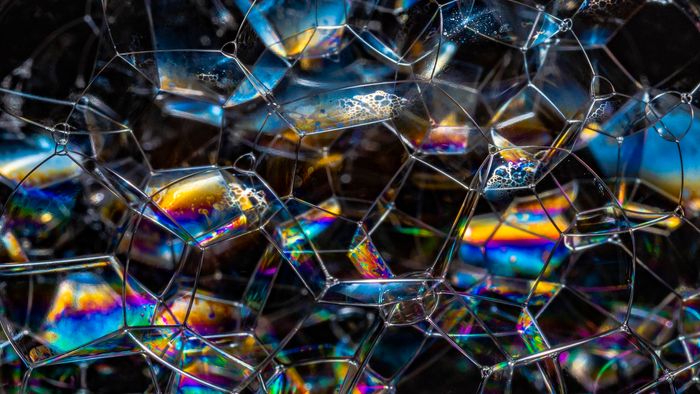
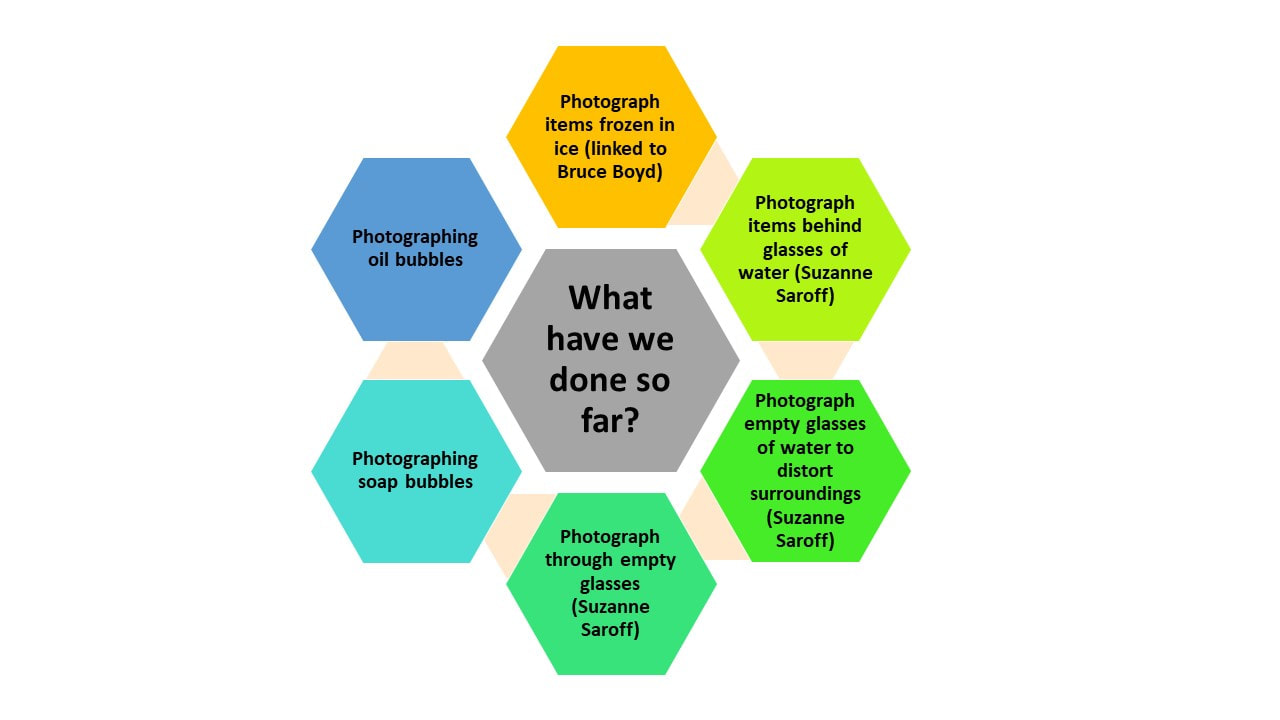
Another method of distortion with water is using oil. The two naturally separate and you get lots of tiny bubbles, perfect for macro photographs.
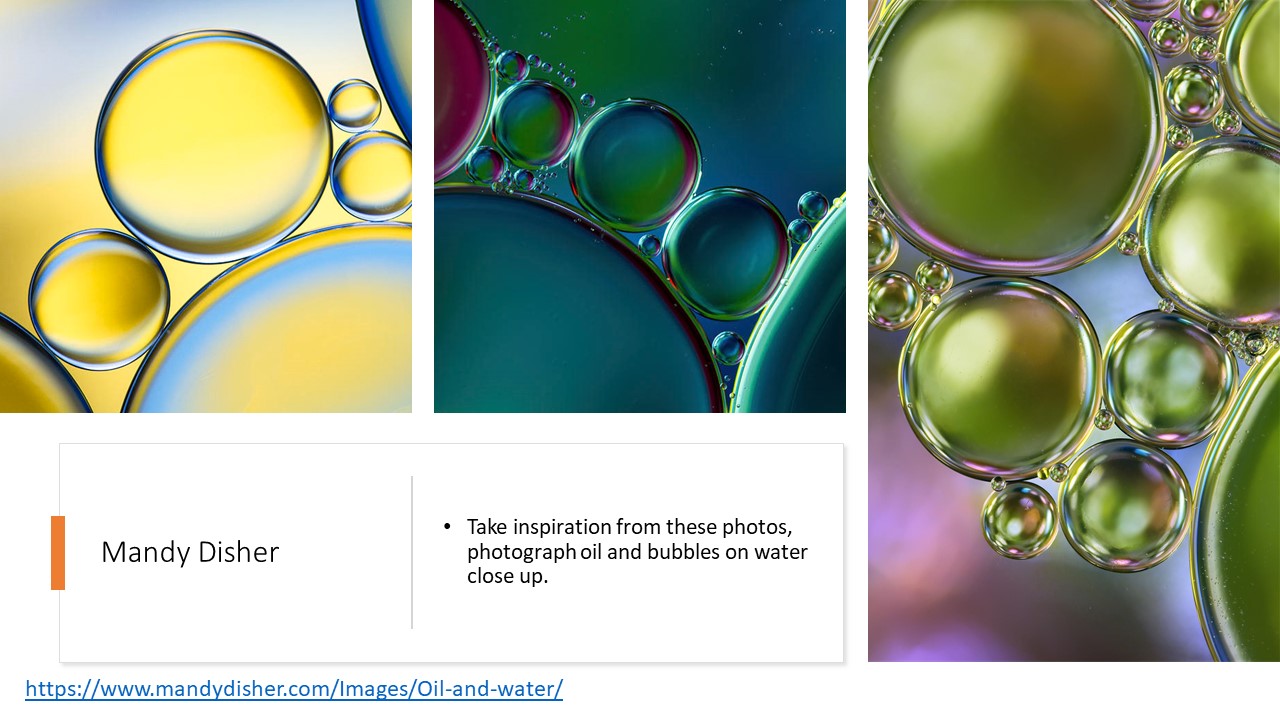


watch the tutorial below to get some ideas for tomorrow photoshoot. you should bring in some interesting paper to place underneath your bowl. think of bringing in some christmas or birthday paper.
tomorrow we will complete the photoshoot so please come prepared

|
|
|


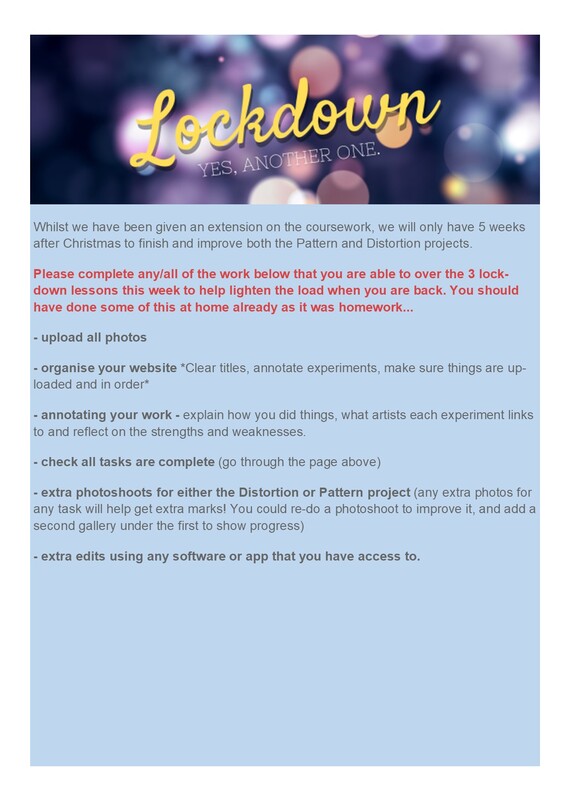
Work through the sheet to check gaps are filled. So far i have noticed the following when marking:
1. lots of gaps in your work - check what is missing using the sheet.
2. Presentation isn't great for many - too many photos on a slide, or too much white space. make your photos bigger if you have big gaps!
3. Work not in the right order - check the sheet.
4. Missing photos - make sure all photos are uploaded. (don't just upload a few!)
5. Many of you need to work on edits for one or more of your photoshoots. See below.
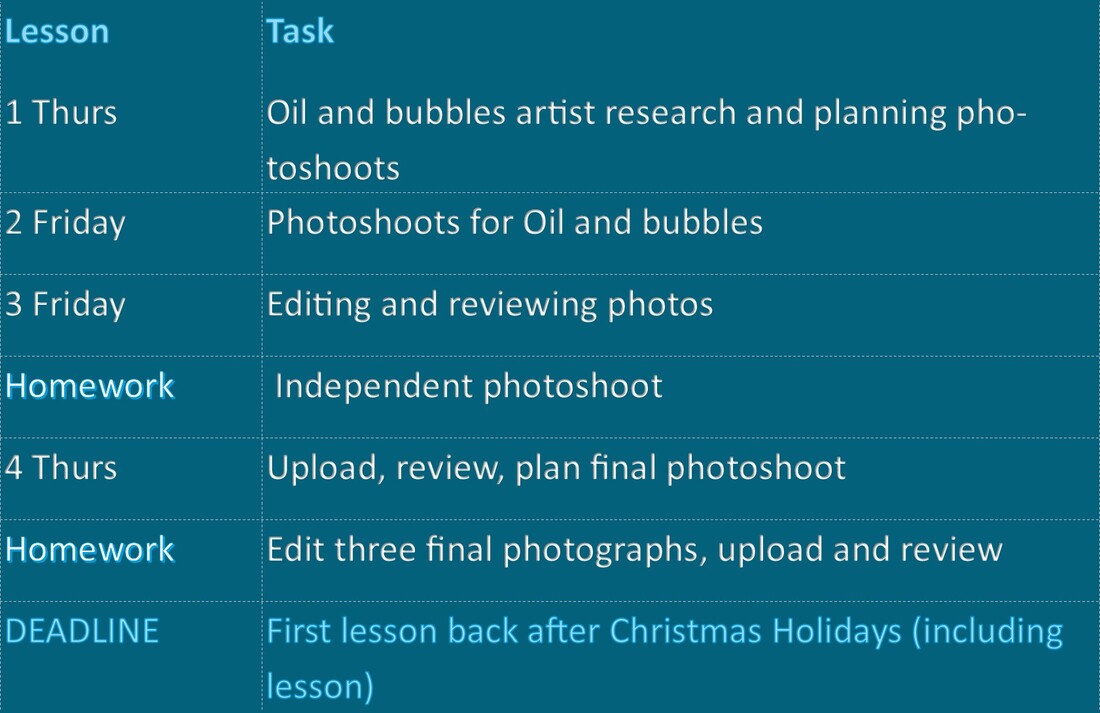
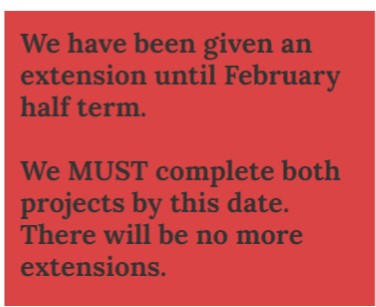
your remaining time to complete this project: deadline is first week back after christmas

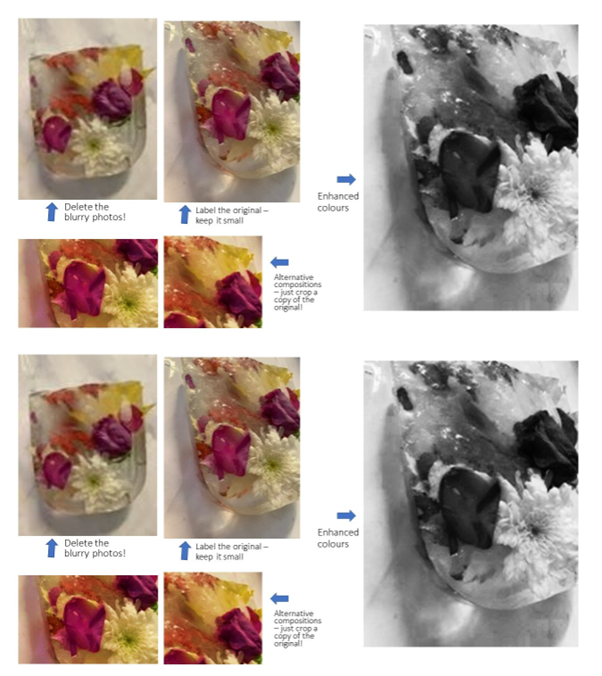
Editing! Include the original and the edit side by side.
Remove imperfections in the background, using the clone or patch tool. remember to hold ALT whilst you click with the clone tool!
Change the composition by cropping.
Enhance colour and contrast.
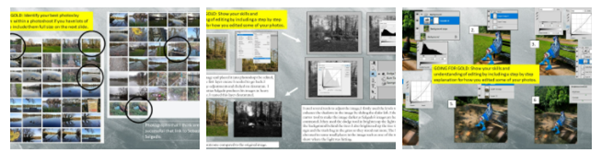
GOLD: Include SCREENSHOTS of step by step on how you edited your photo. Click the examples below to see how you could do this.
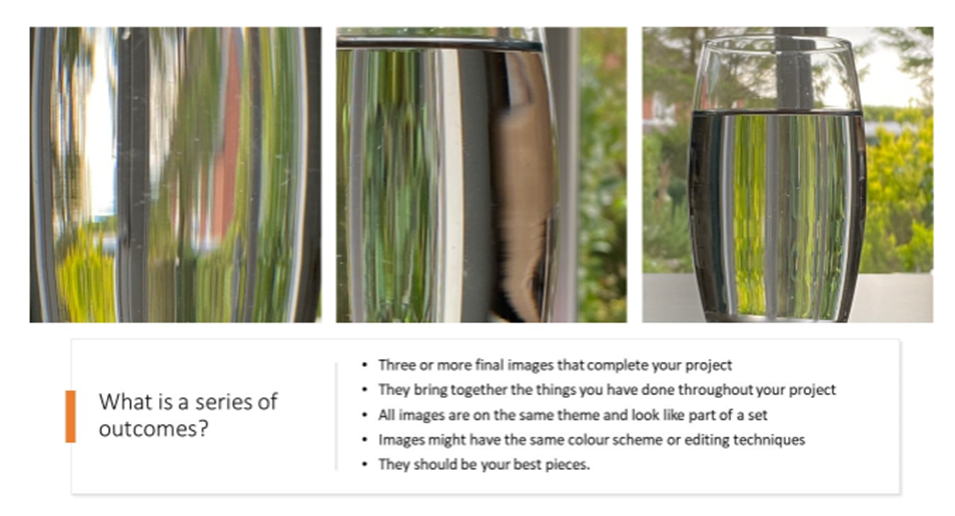
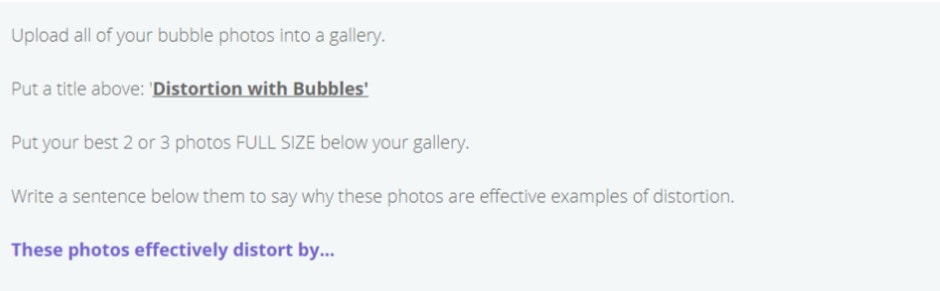
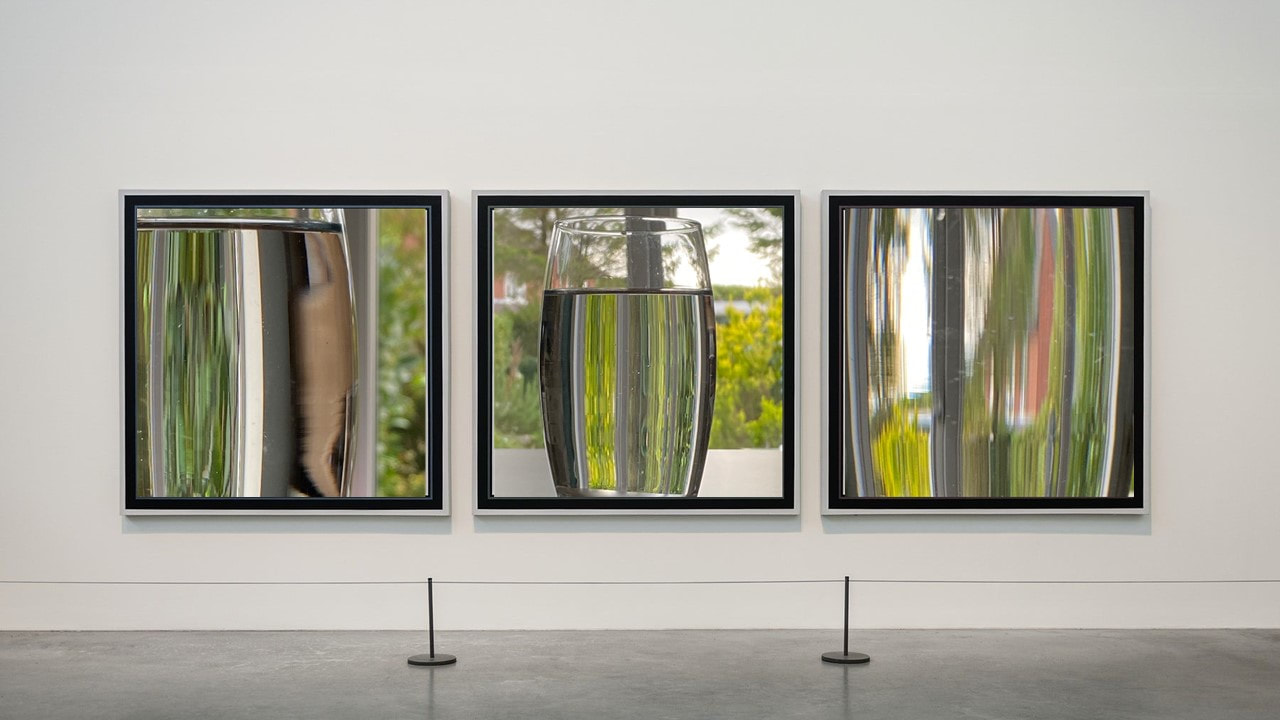
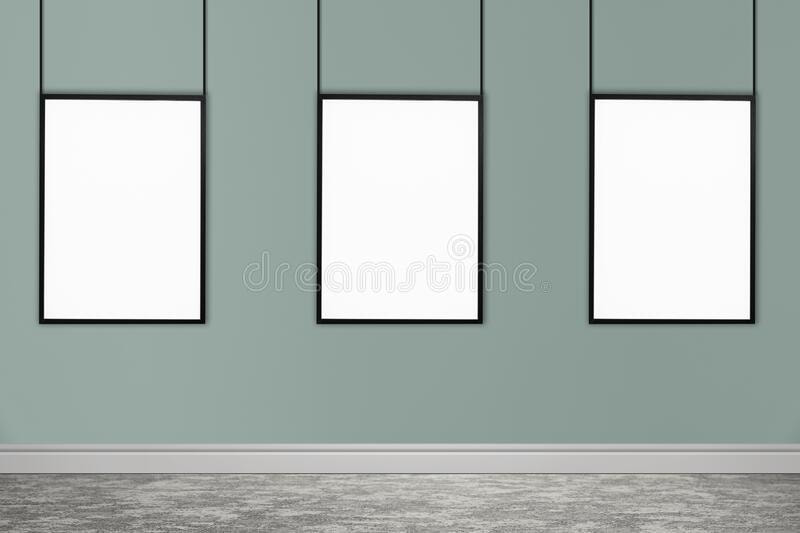
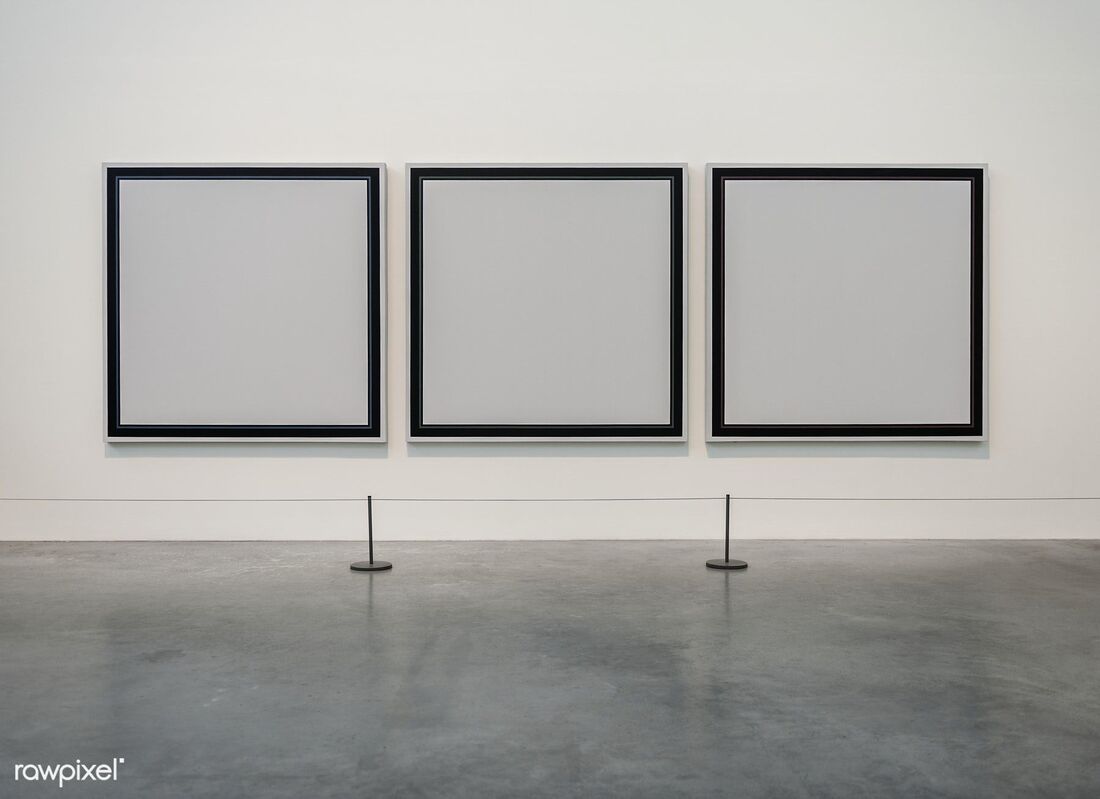
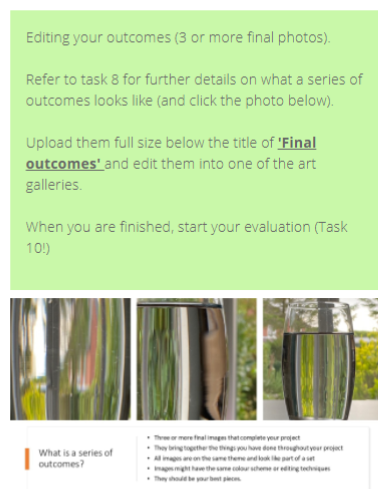
When your set of photographs is complete you will present them in a gallery like the example below:


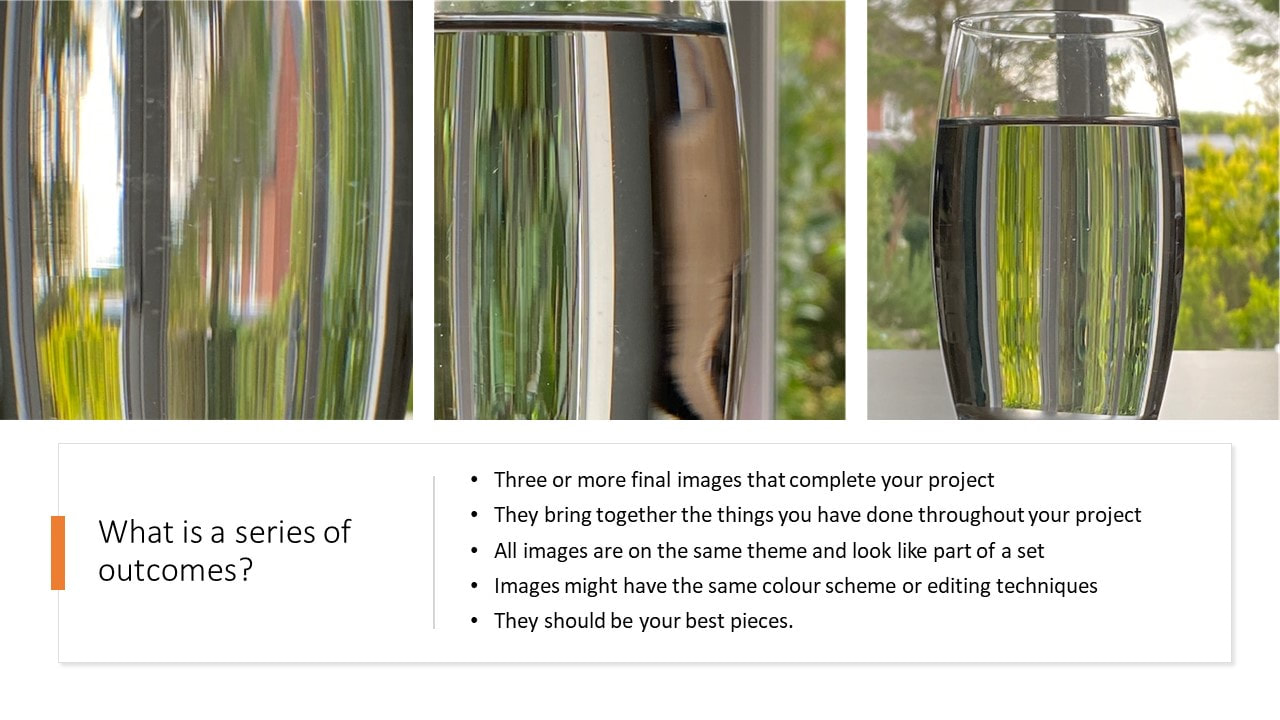
When your set of photographs is complete you will present them in a gallery like the example below:
|
|


|
|

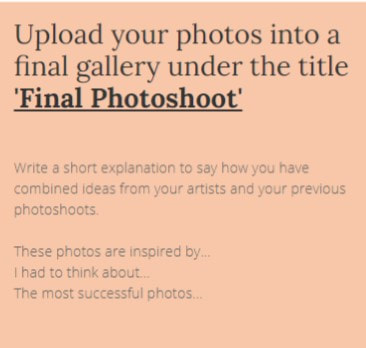
The final task when you have completed the project is to write an evaluation.
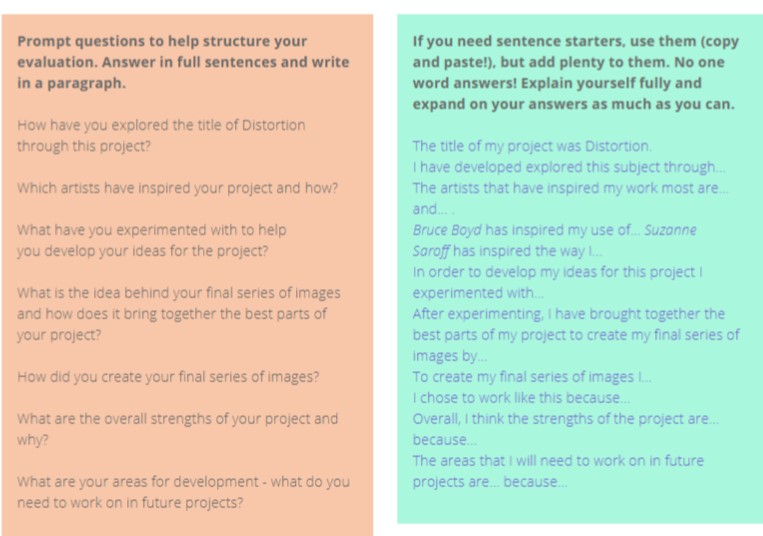
When your final pieces are finished and uploaded, you need to write an evaluation. Write it on Word so you can spell check and save, then copy it over when finished. To evaluate, use these questions to help you:


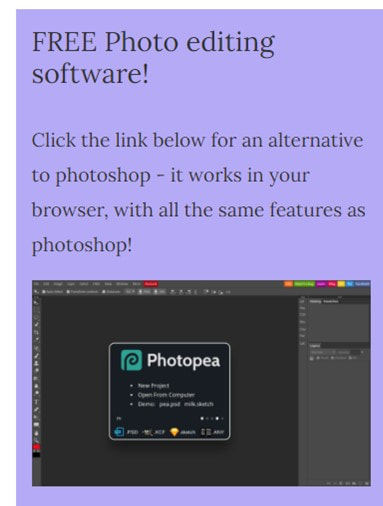
you may experience issues with working with photoshop at home so I have prepared a list of alternative software to try